
How To Repair Holes In Cabinet doors
When refinishing or refurbishing kitchen cabinets, some customers want to change the configuration of cabinet hardware. The original placement or hole spacing may not match up with new hardware selection. Filling and repairing the existing holes allow for new hardware to be installed.
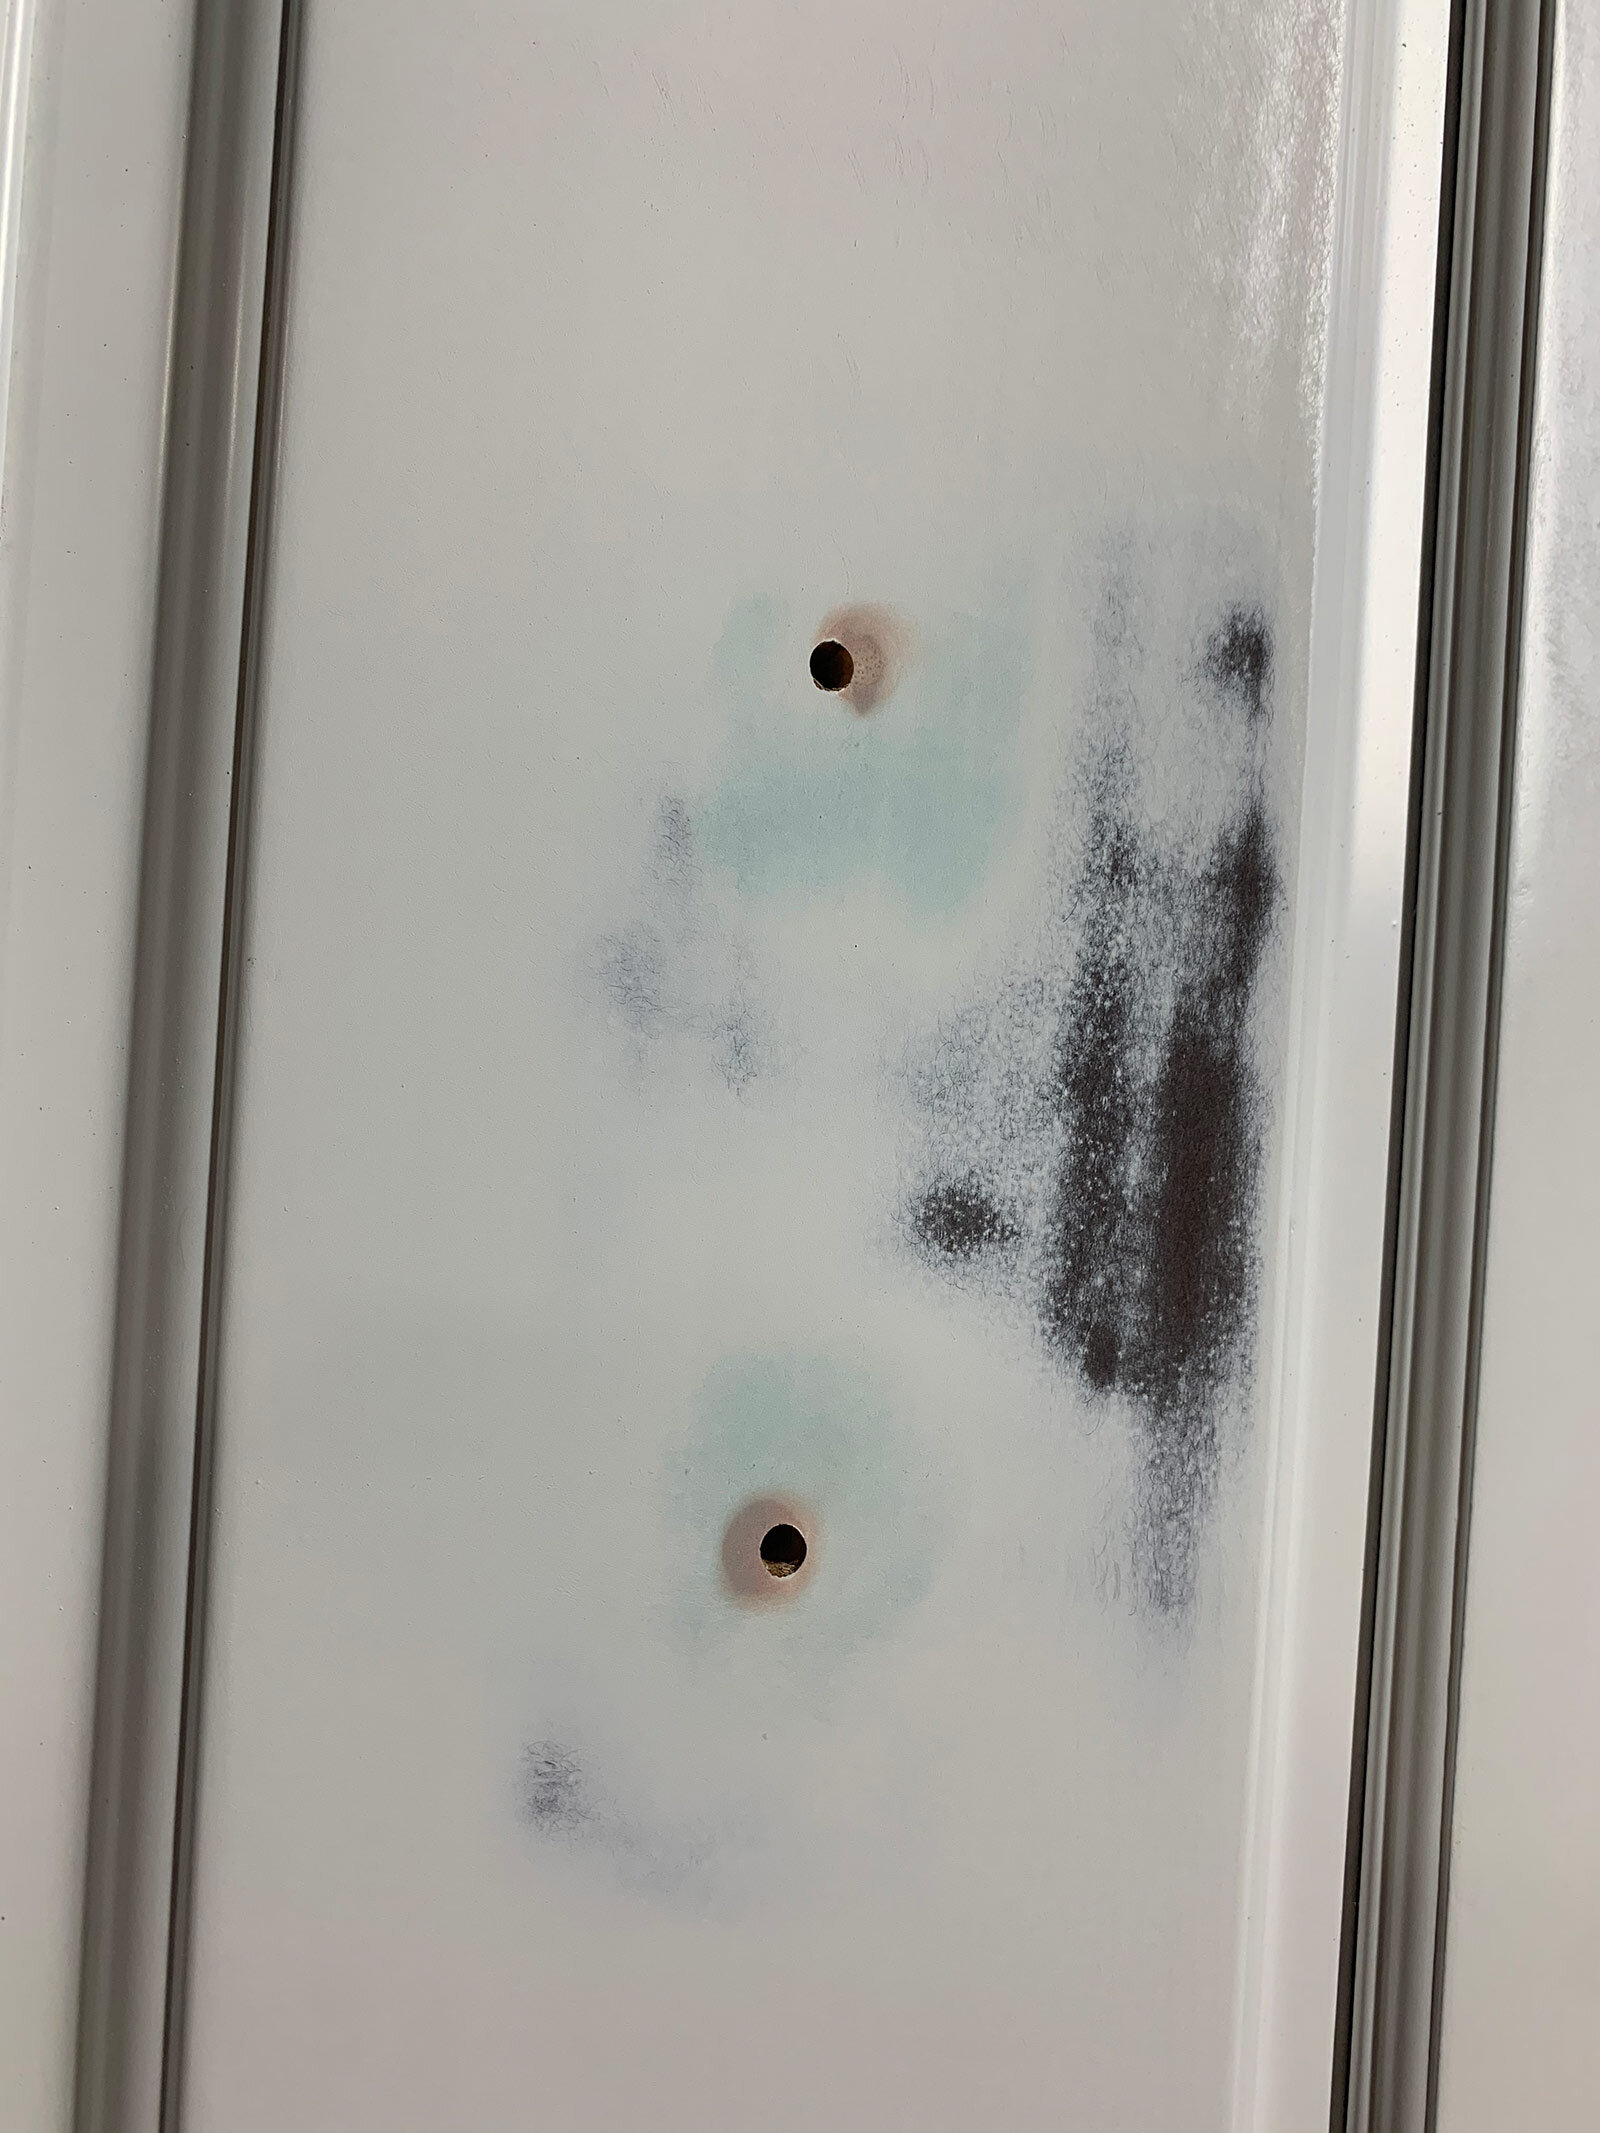
In other situations, the existing hardware may have been installed off center, crooked, or misaligned. This cosmetic deficiency can be resolved while refinishing the cabinet doors.
The latter was situation we were faced with during a recent cabinet painting project. This article will detail the method we used to fix holes that were not properly aligned on the face of a drawer front.
The holes should be filled with a resilient material that will properly fill the void and provide a durable and efficient repair. There are a variety of wood fillers, putty’s, and epoxies available for wood repair.
Each of these types of products have their pros and cons. Performance characteristics may make a given product better suited for one type of repair than another.
During this cabinet painting project we used a simple and reliable method to fill the holes: golf tees and wooden dowels.
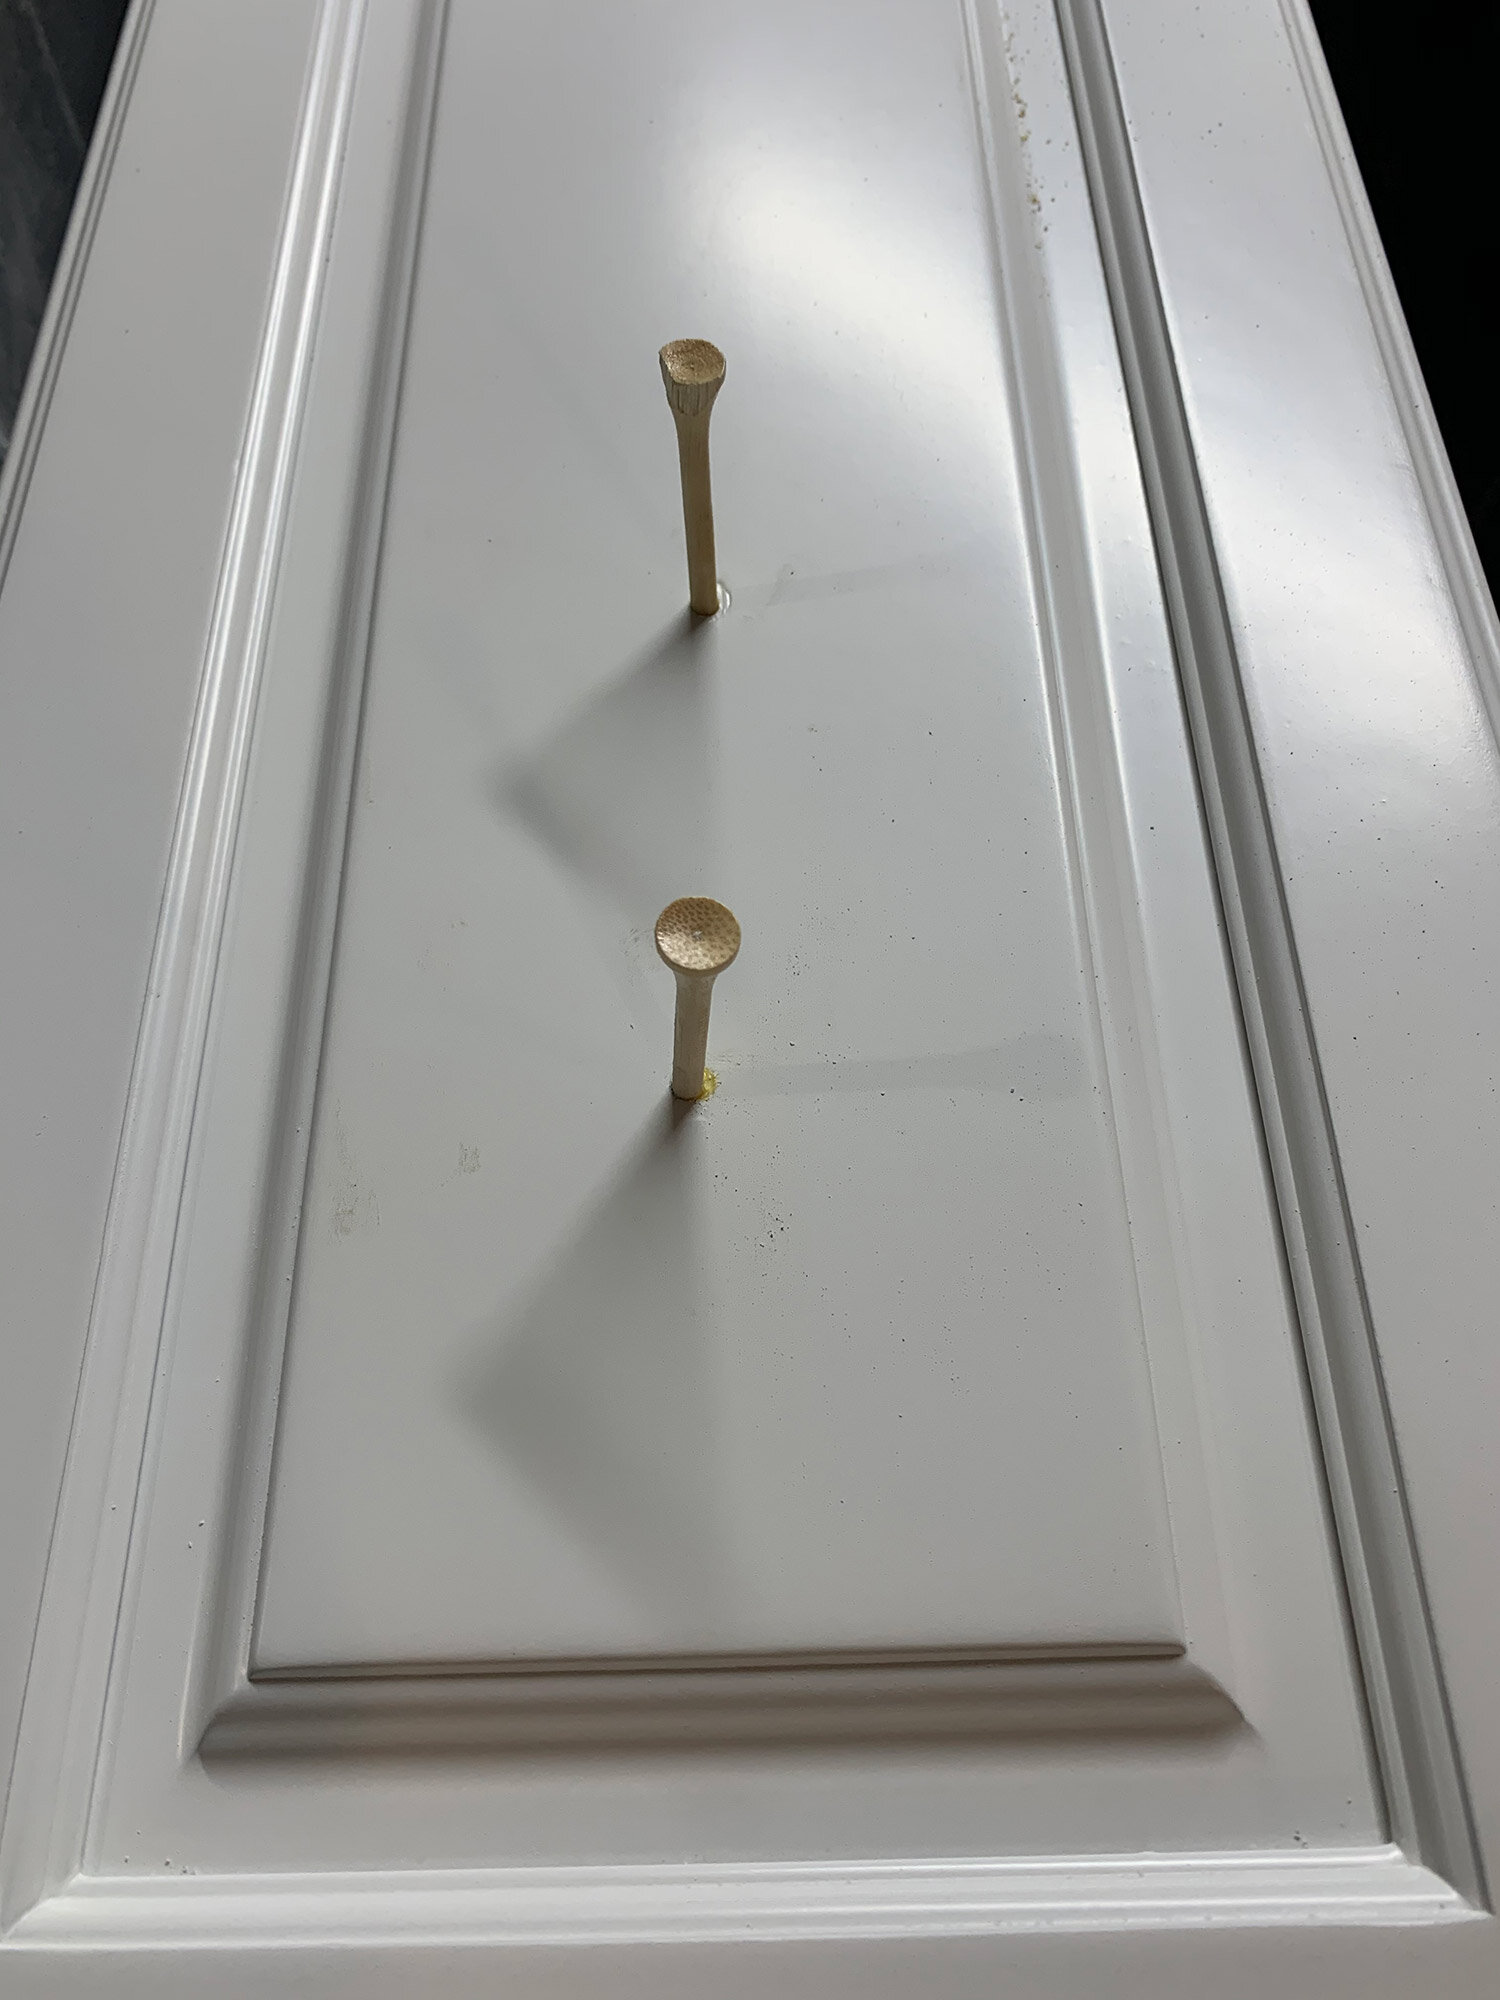
Tees Glued Into Cabinet Drawer
Golf tees? Yup. You read that correctly. Holes for cabinet door hardware are typically sized around 3/16” or 5mm in diameter.
Golf tees and wooden dowels can work perfectly for this task. They are wood so the will be able to be drilled/hold a screw and can be securely glued into the door panel.
The ability to be re-drilled without chipping, cracking, or losing its bond to the door is vital for a successful repair.
Here is the process I followed:
Clean the cabinet doors! The surfaces must be clean before beginning the finishing process. I have the best results using a degreaser to break up and remove the grease and grime then use a solution of water/alcohol to wipe off remain residue.

Test fit the golf tee or wooden dowel in the hole. Tees are often tapered and vary in diameter. You’re looking for a snug fit. Wood dowels come various sizes and work equally as well. Dowels are readily available at most neighborhood hardware stores.
After validating that the tee/plug/dowel fits properly, use compressed air to blow out the existing holes in the doors. You don’t want any dirt or dust in there.
Kitchen cabinet doors, or panels, are commonly 1/4” - 1” thick. You will want your plug to at a thick as the wood that you are filling. Don’t worry if the tee is too long. You’ll be cutting it flush anyways.
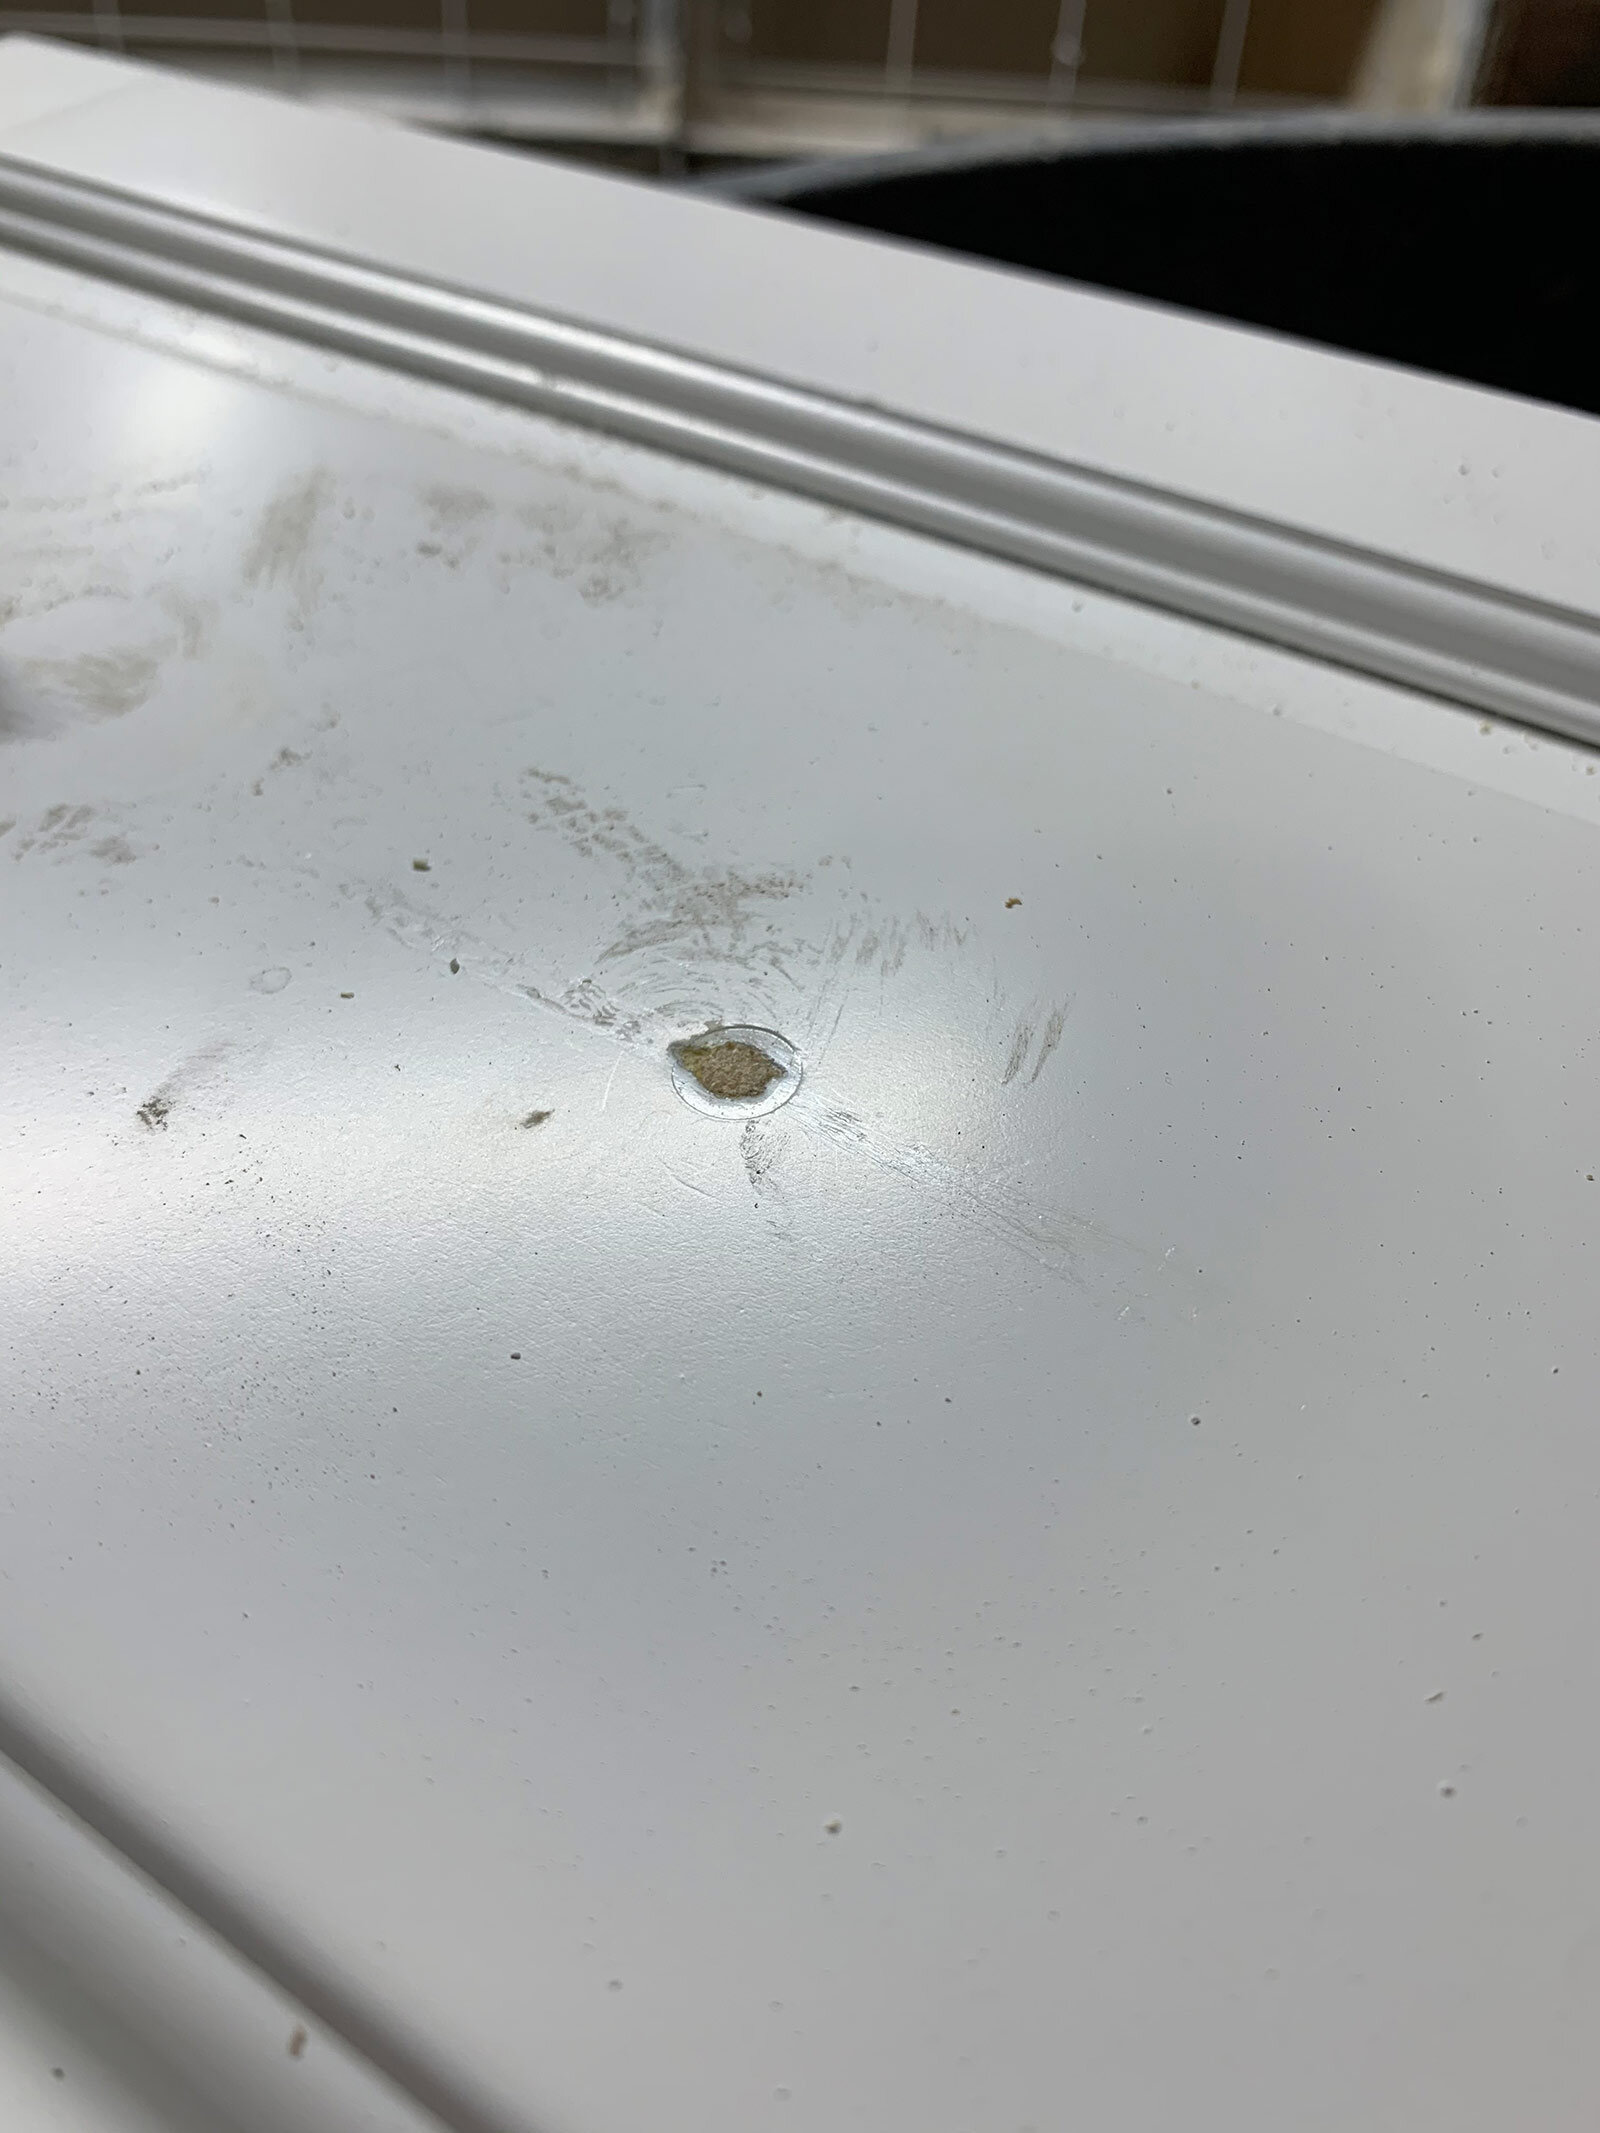
Wooden Dowel Cut Back Flush
The golf tees that I used had a clear coat finish on them. Glue doesn’t bond as well over a finish so I sanded the finish off to expose bare wood. Dowels and plugs typically will have no finish on them.
I use Titebond wood glue on most of my woodworking projects. It’s performs very well for joining wood panels together. Using a small disposable brush, I applied glue to the interior of the hole and surface of the golf tee and lightly tapped into the hole with a hammer. Wipe off any excess glue on the surface with a damp towel.
With the tee firmly placed in the hole it was allowed to dry. After the glue has dried, the tee is cut back flush to the surface using a flush cut saw.
The area is then sanded with 180 grit sandpaper. This will level off the surface and put scratches in the surface to provide a mechanical bond of any fillers/putty’s to complete the repair.
To make the repair undetectable, a filler will be required to create a perfectly smooth repair. There are many options, but I prefer to work with epoxies and body filler for most repairs. They offer excellent adhesion, fast cure times, and a hard durable surface.
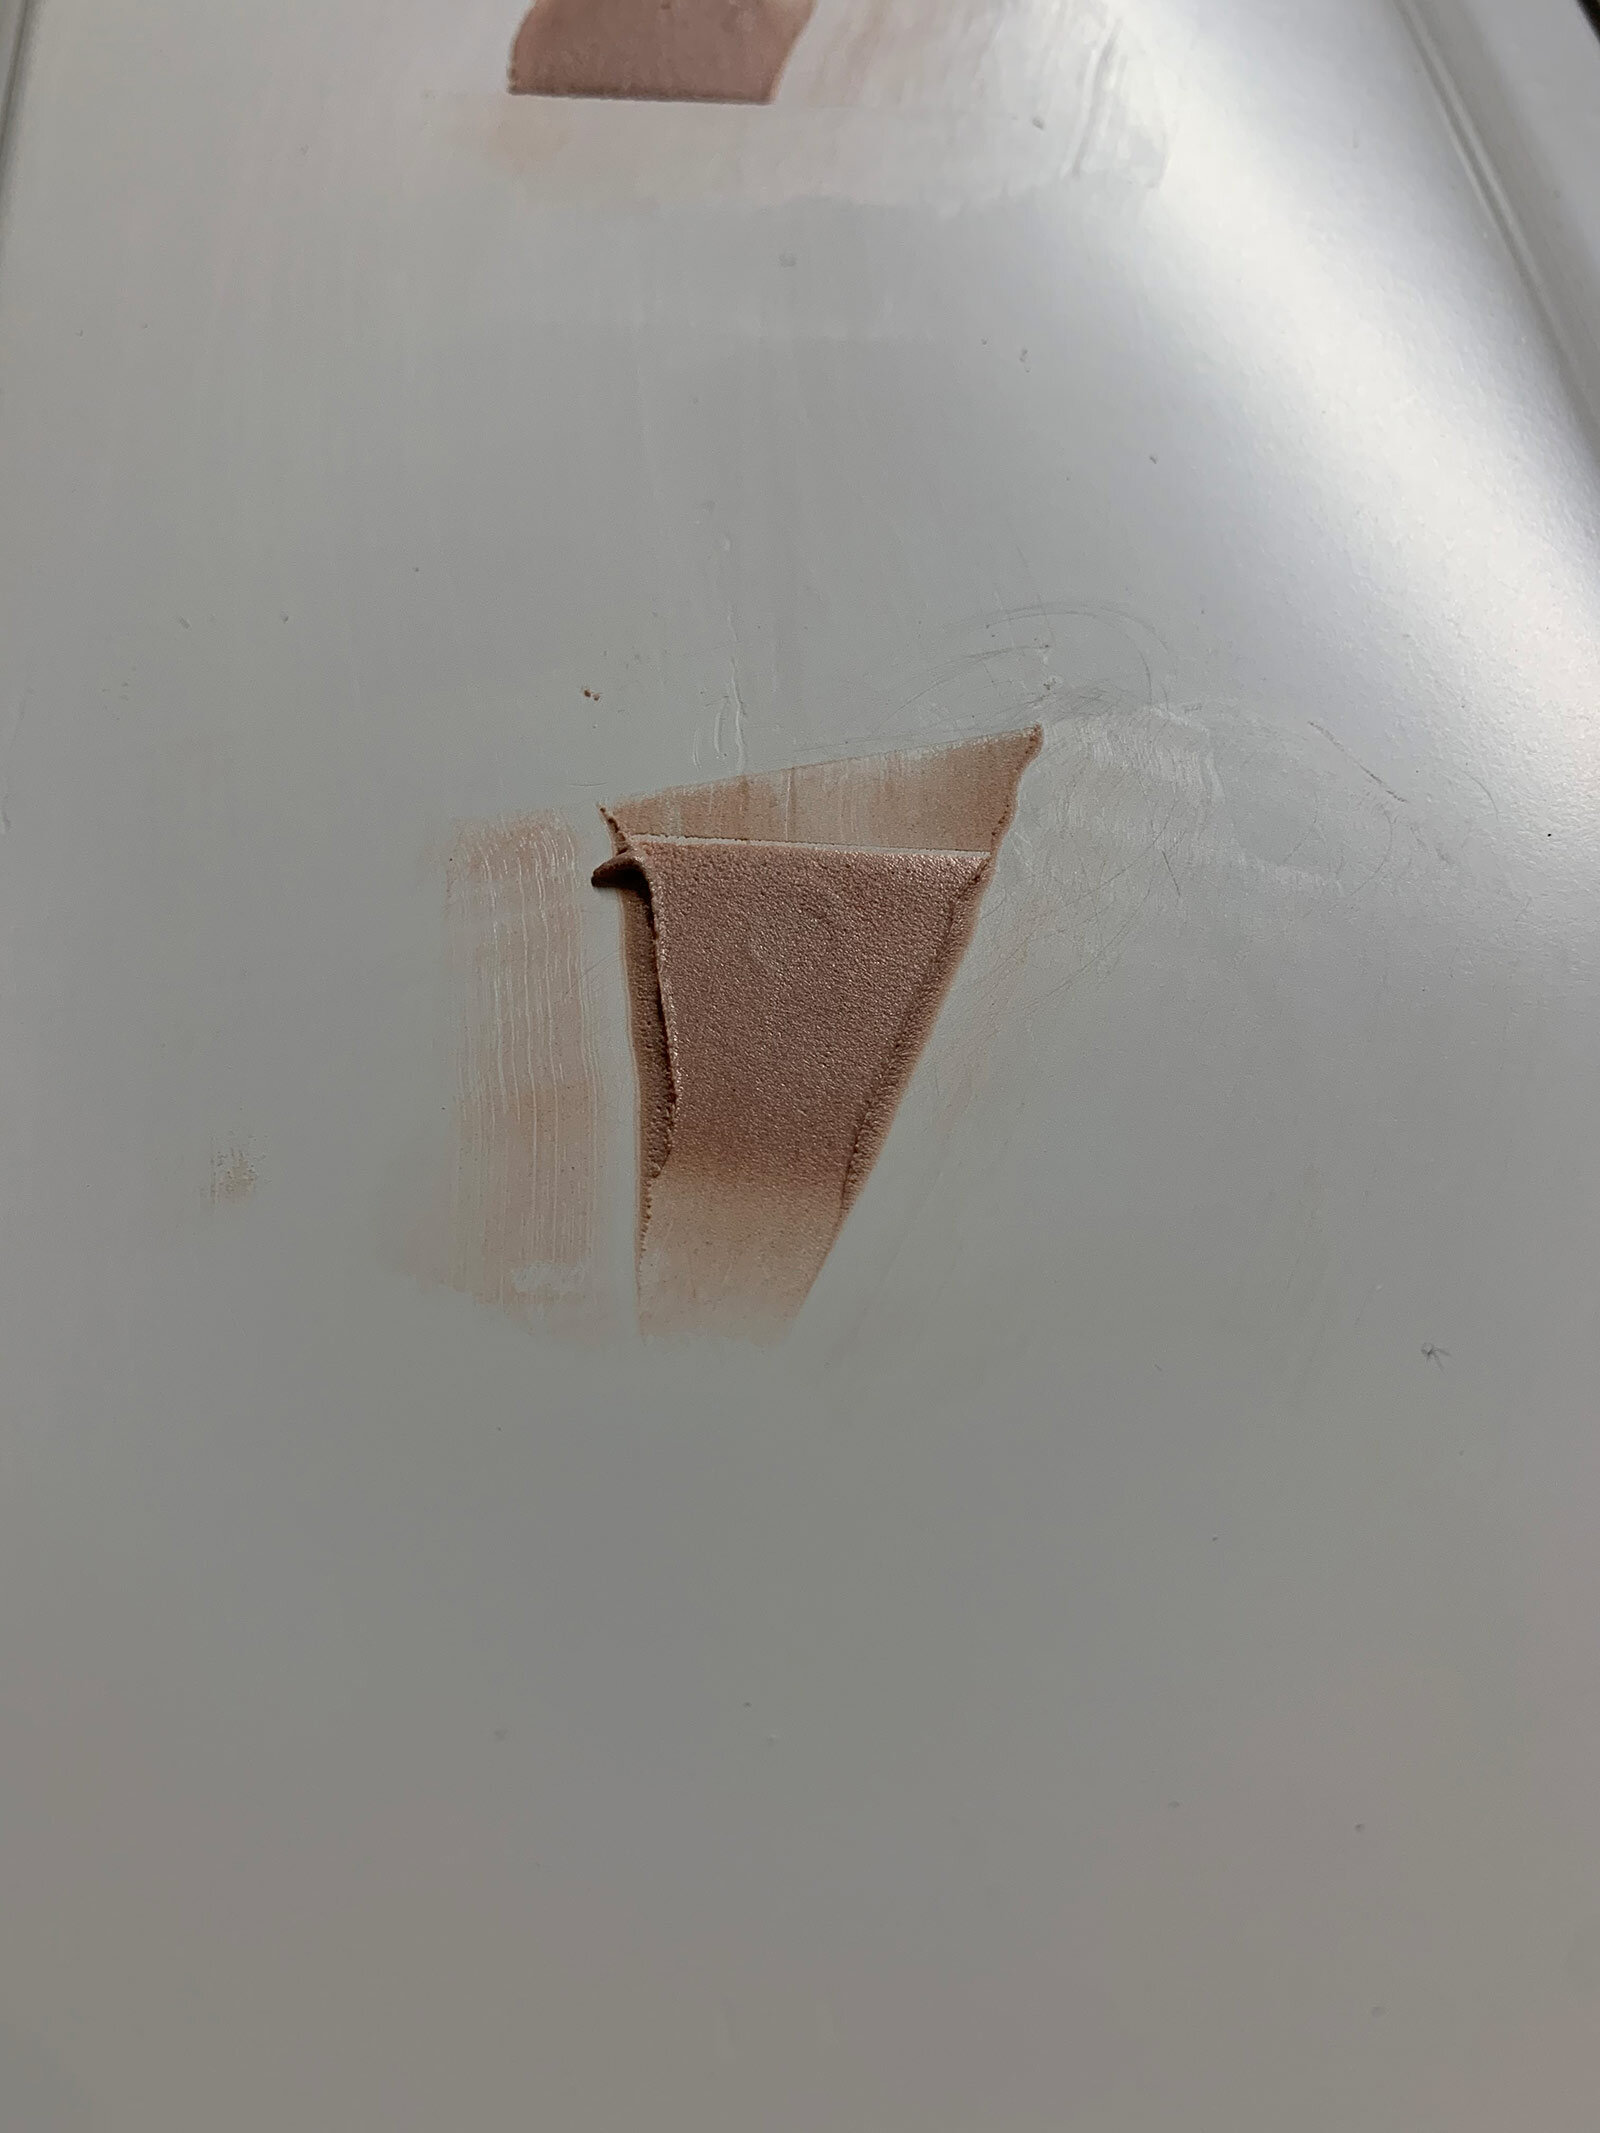
Body Filler Applied Proud of Surface
Body filler was applied over the area. The filler was applied a little heavy over the hole and impressions from the previous pulls. This will build up will permit me to sand the filler down flush and fully fill any voids on the cabinet drawer.
After sanding down the filler with 180 grit, I applied spot putty on the area of the repair. The purpose of the spot putty is to do any final filling or blending. Spot putty (glazing putty) is softer than most body fillers and is able to be sanded to a feather edge.
After the spot putty was cured, the area was sanded with 180 grit paper and then lightly with 220 grit to create a smooth repair.
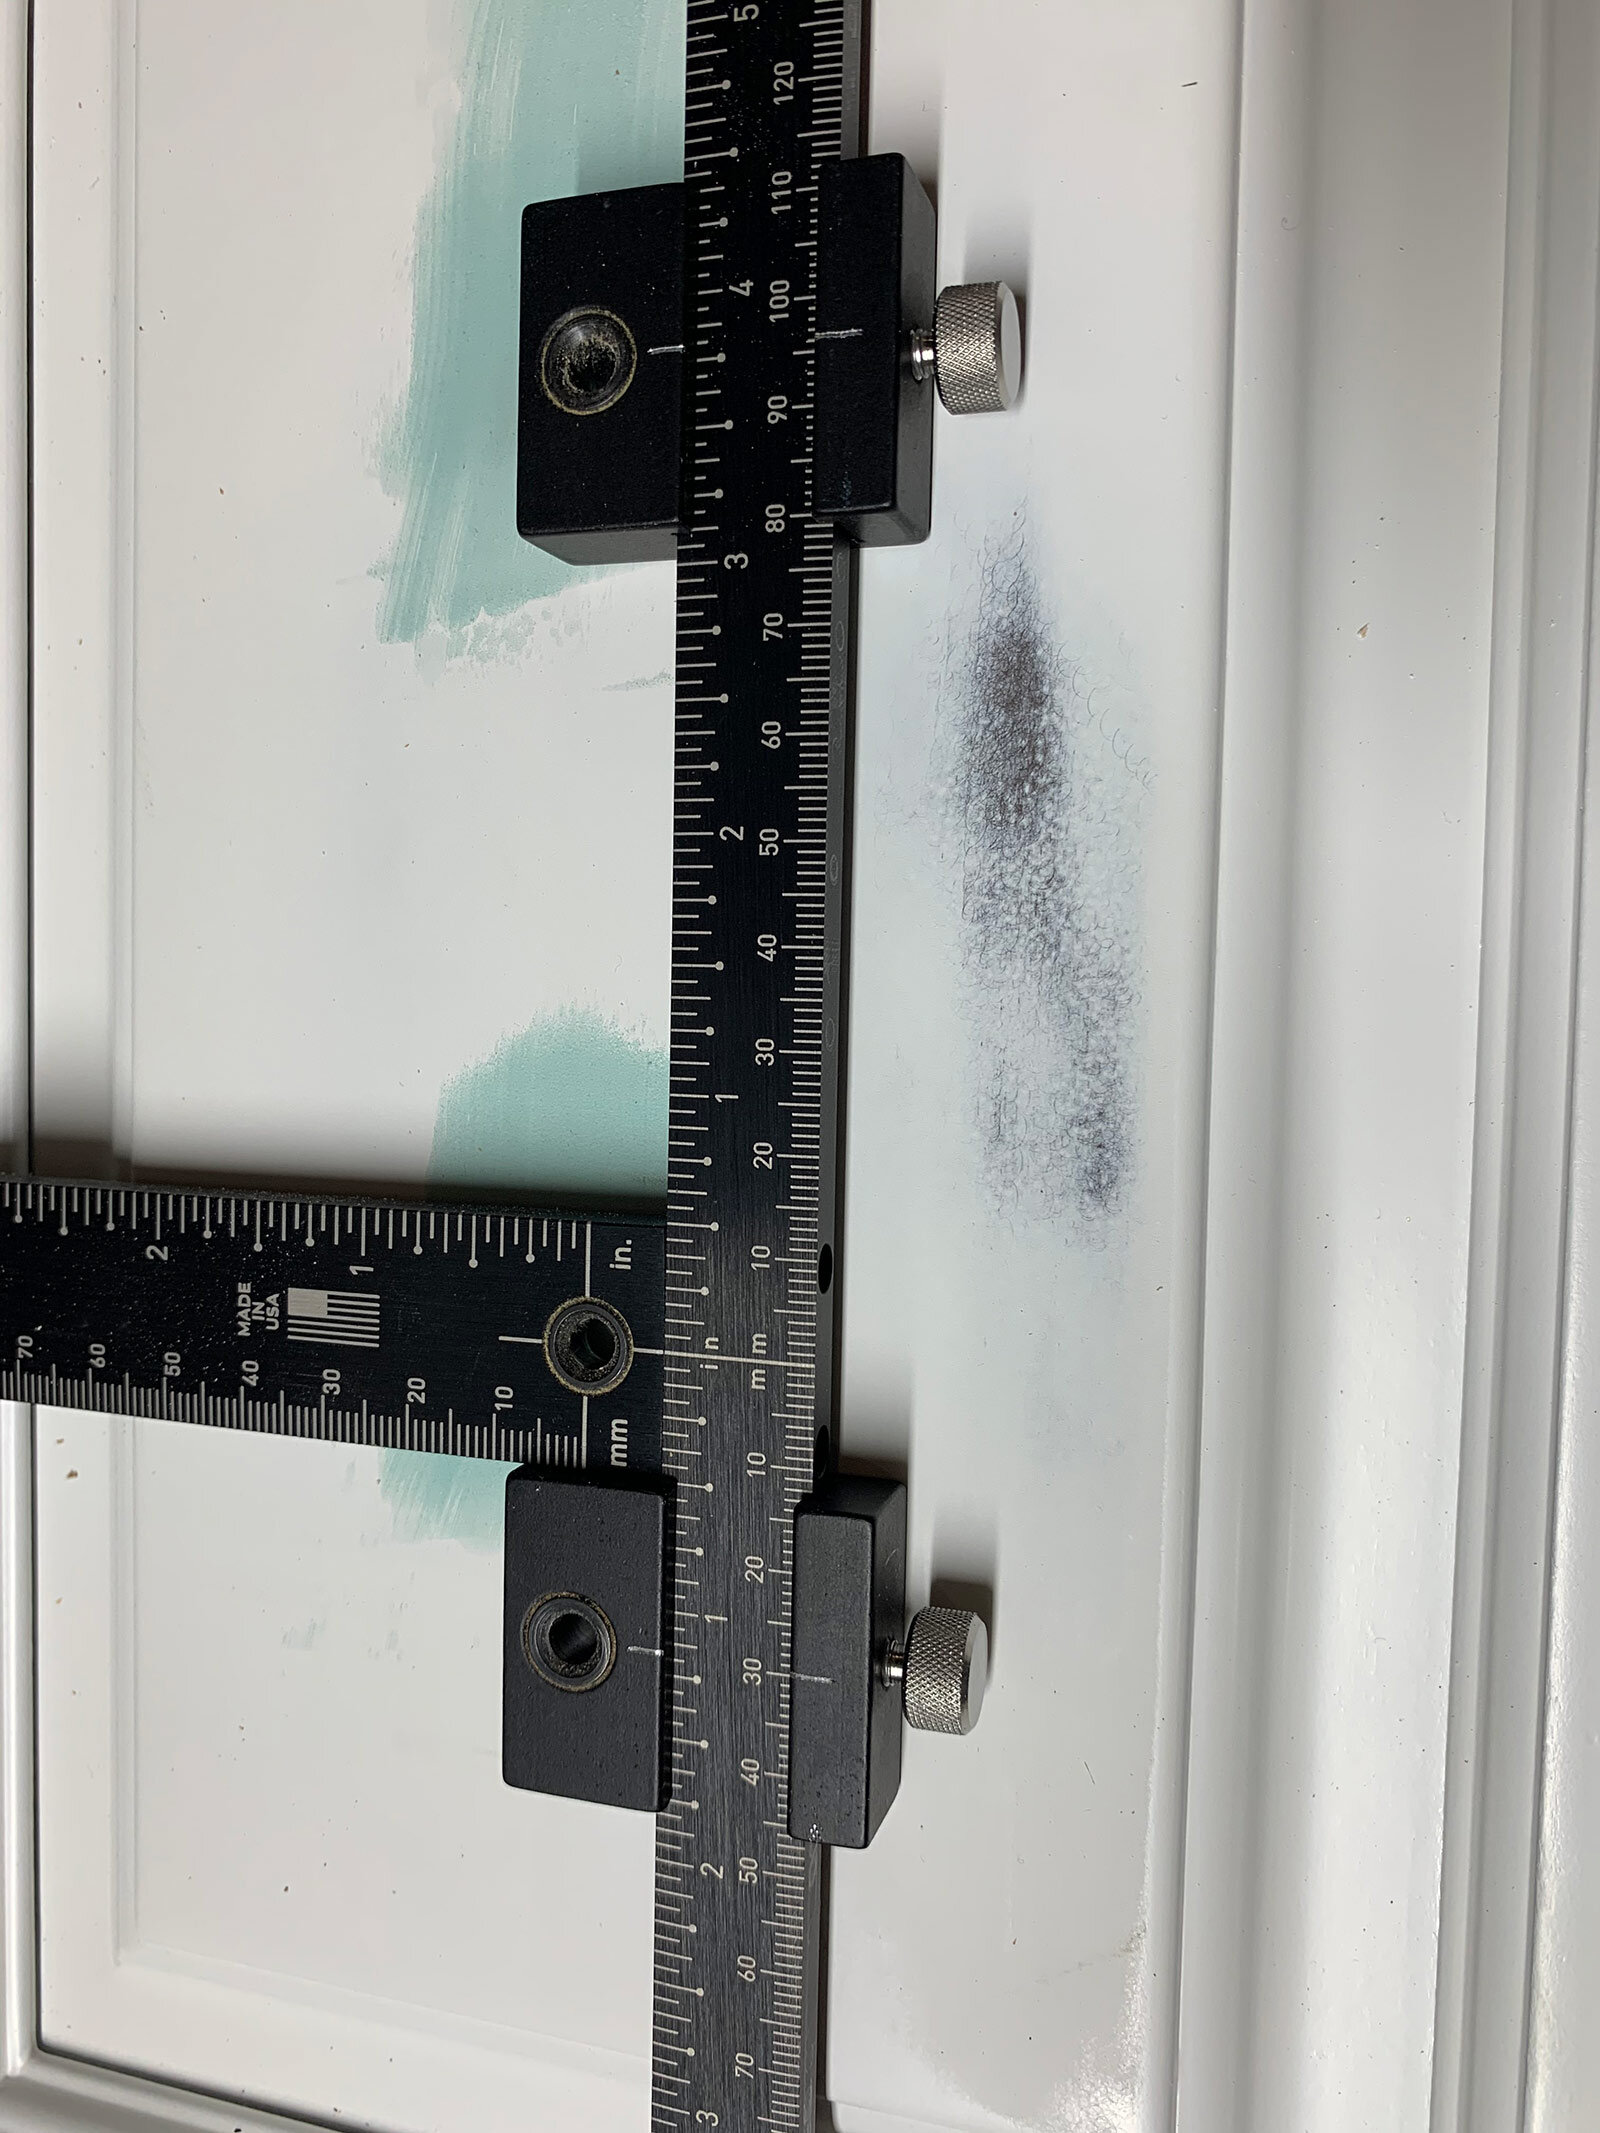
True Position Tools Hardware Jig
Be sure to carefully inspect the door for blemishes. An inspection light such as the model offered by Surfprep is perfect for this task. Having the proper lighting really makes a huge improvement while prepping, sanding, and repairing cabinet doors.
Now that the repair has been completed, I drilled holes for the new hardware configuration. In this situation, the new hardware used the same 3 3/4” spacing. Using the True Position hardware jig gives me perfect alignment and is easy to use.
Repair Completed
With repair completed, the door can be prepared for finishing by sanding the remaining surfaces and dusting before priming.
Good luck!