
Cement Board Installation
Proper substrate preparation is critical for a quality, long lasting floor tile installation. There are a variety of products that we use based upon the site conditions, budget, and goals of the installation.
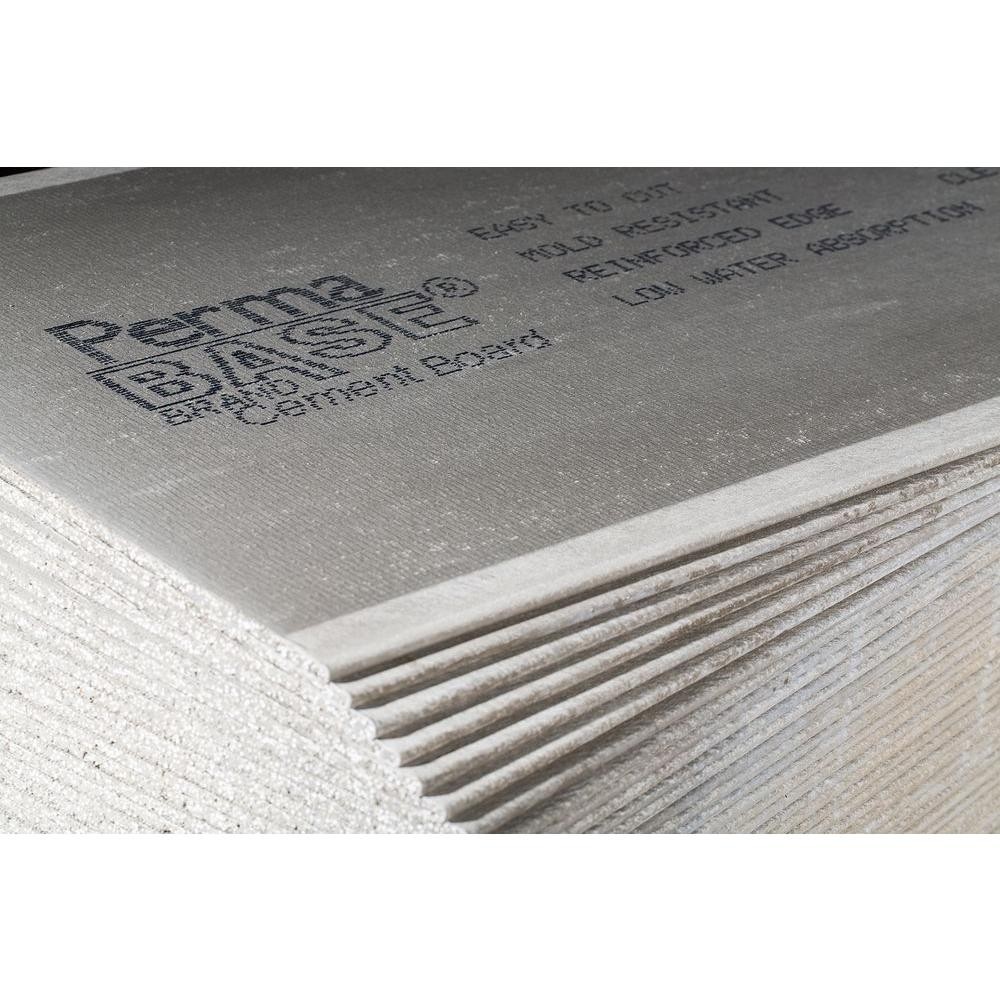
Cement based underlayments (CBU), such as Durock, are one of the most common products used for floor tile installations. Installation of CBU is straight forward and suitable for most residential tile installations. Regardless which manufacturers product is used on your floor, there are specific installation that must be followed. Always consult the installation documents for the products to be used on your project.
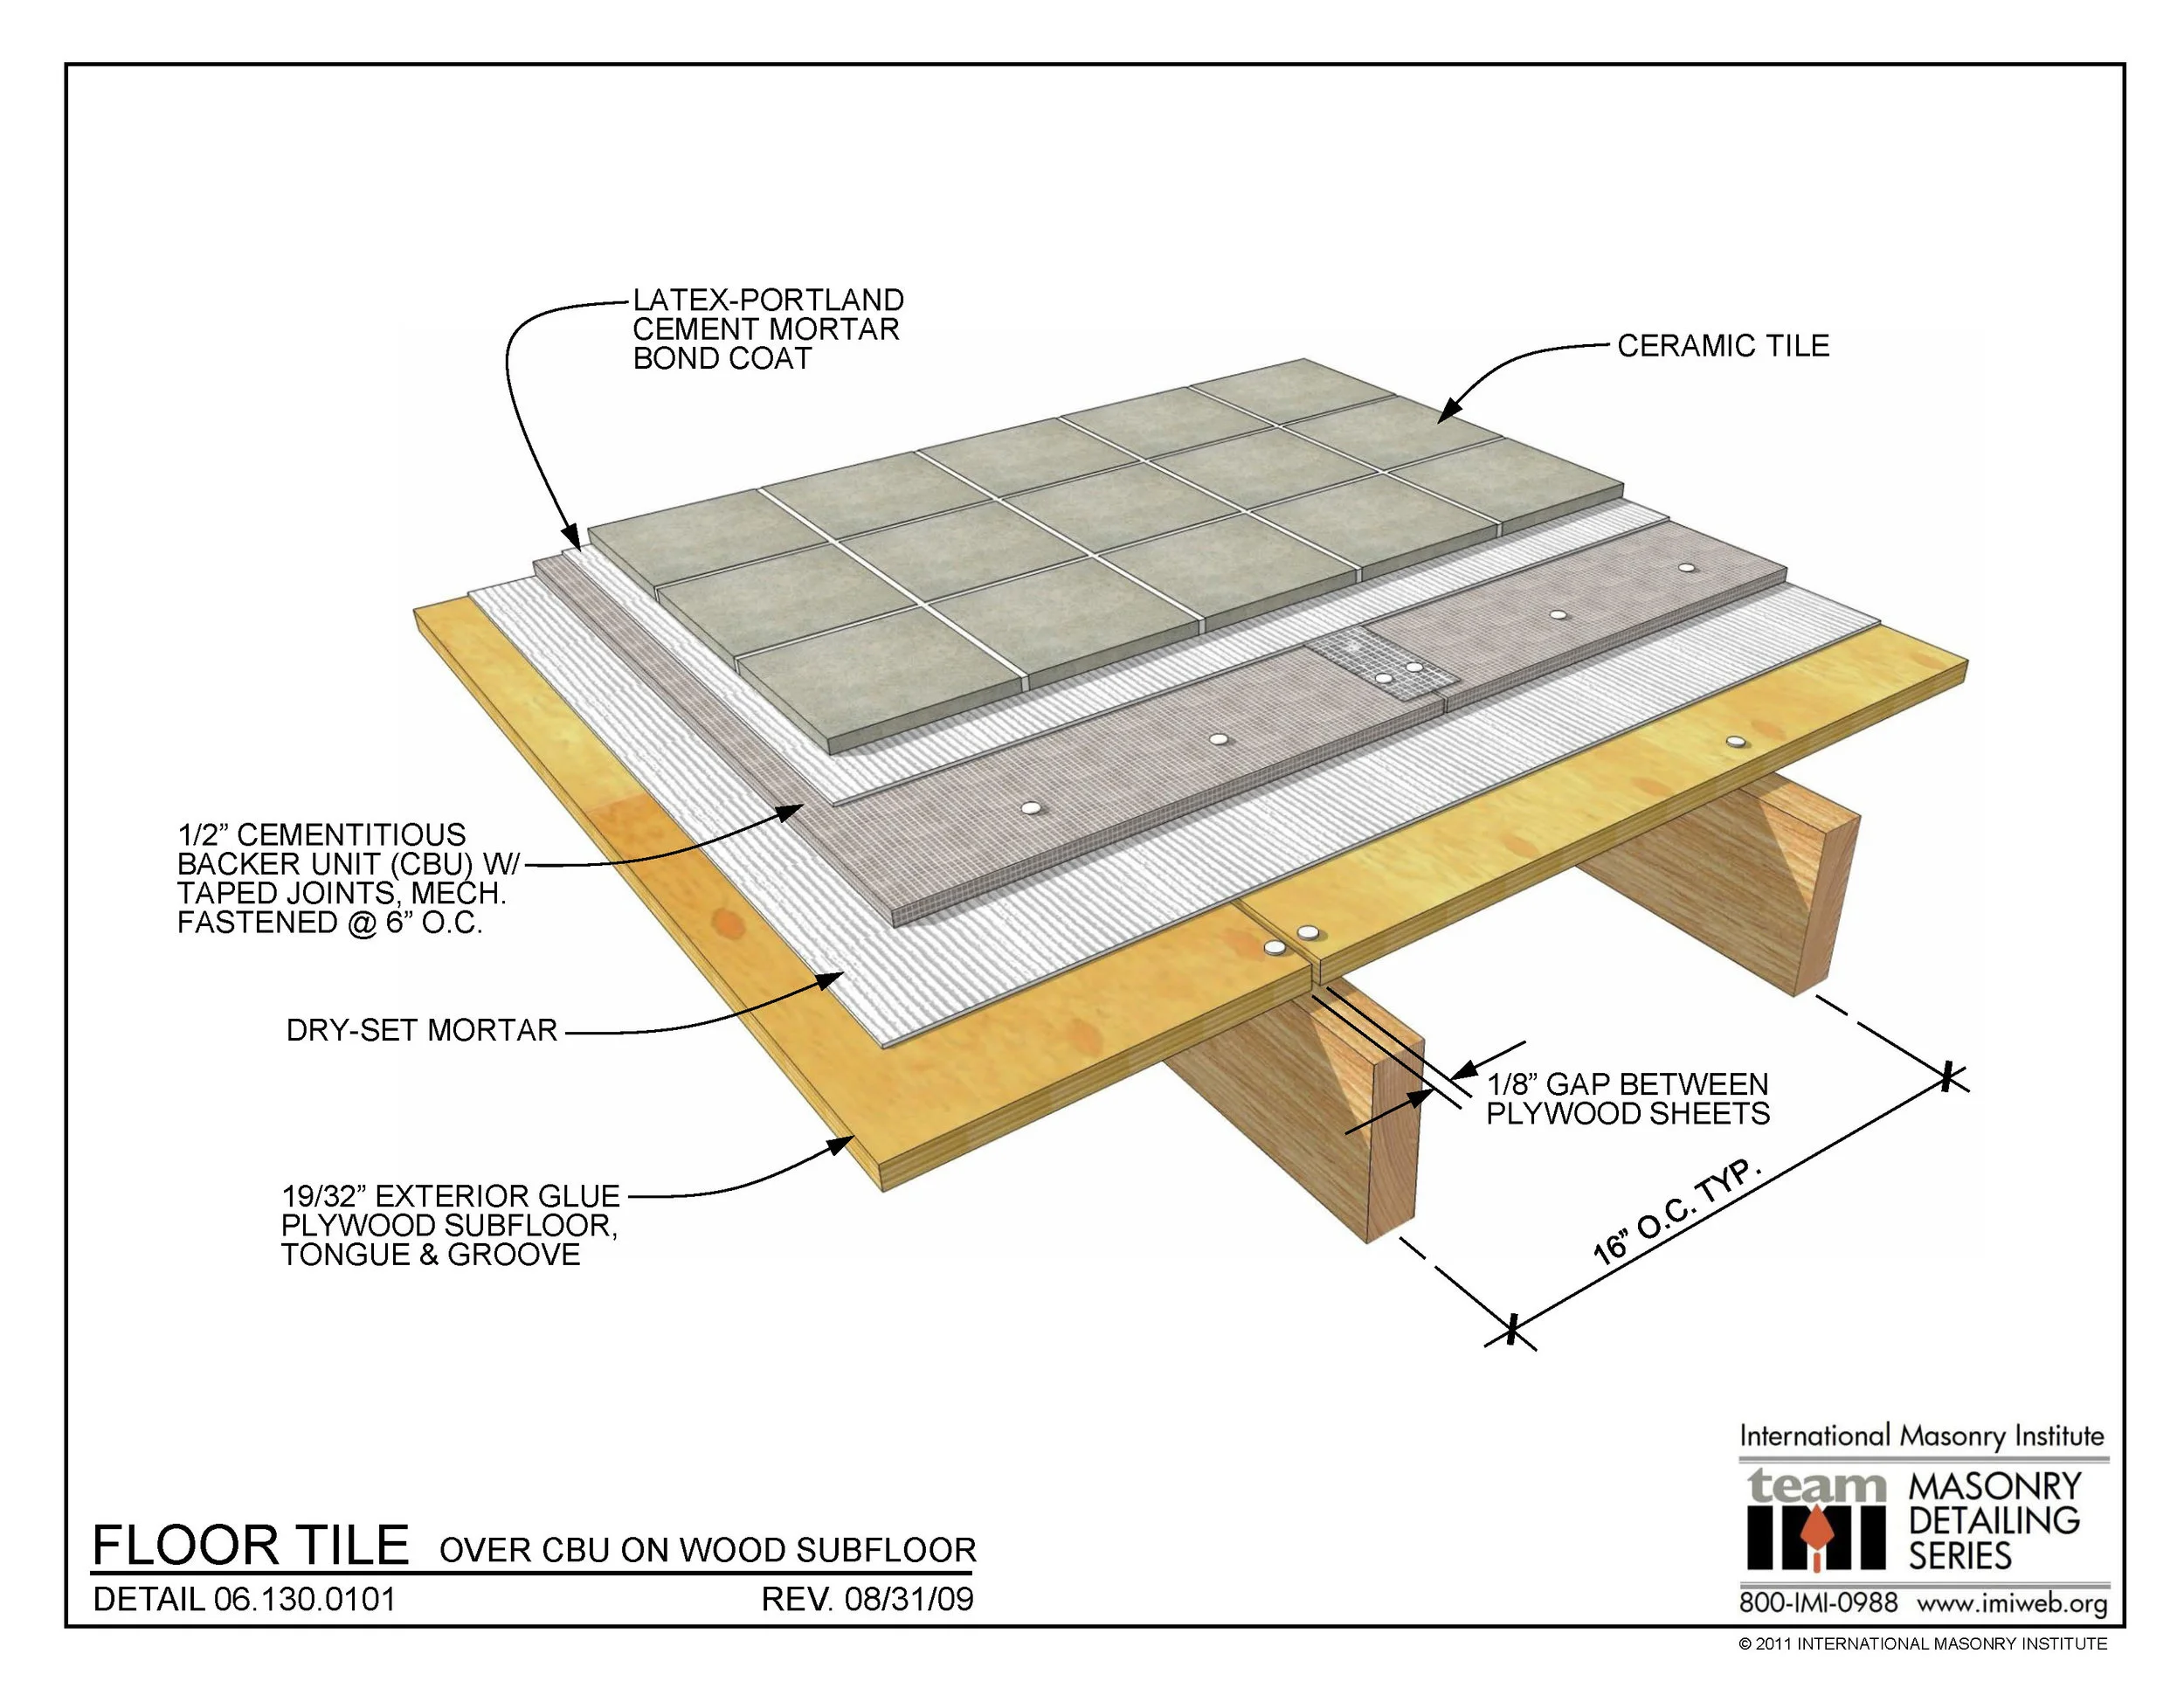
This image indicates the common assembly method of a tile floor installation. 1/4” or 1/2” underlayment can be used interchangeably, based upon desired finished floor elevation.
Truth be told, the majority of tile floors that I have removed during remodels have been installed wrong in one way or another. Improper installation of the tile underlayment can lead to a failure of the tile system. The most common installations errors that I see are:
- Inadequate subfloor
- No thinset mortar applied below the cement board
- Wrong fasteners used and improper fastening pattern.
- Not properly spacing joints between boards and taping seams
Subfloor Requirements- Floor tile needs to be installed over a rigid and dimensionally stable substrate. Many of the older homes in the Scranton area have a tongue & groove hardwood flooring nailed directly to the floor joist, with no subfloor beneath. Some of the older homes will have a plank subfloor beneath the hardwood. Neither of these scenarios are ideal installing tile and adhering to TCNA installation guidelines. There are a few ways to handle these installation concerns and it is often best to consult a qualified tile installer to complete this work. Commonly, we will remove the unstable flooring and install a new plywood subfloor.

Direct nail hardwood flooring was removed during this Olyphant bathroom remodel. Type BC plywood was installed to provide a stable subfloor for the tile installation
Thinset Under The Cement Board- Cement board is weak and does not add strength to the subfloor assembly. Applying mortar beneath the CBU acts as a leveling bed to fill in minor dips and low spots in the subfloor and to help support the cement board. It’s important to achieve uniform coverage and avoid air pockets. The absence of thinset beneath the CBU is one of the more common installation errors that we find that leads to a failure of the tile floor or grout joints.
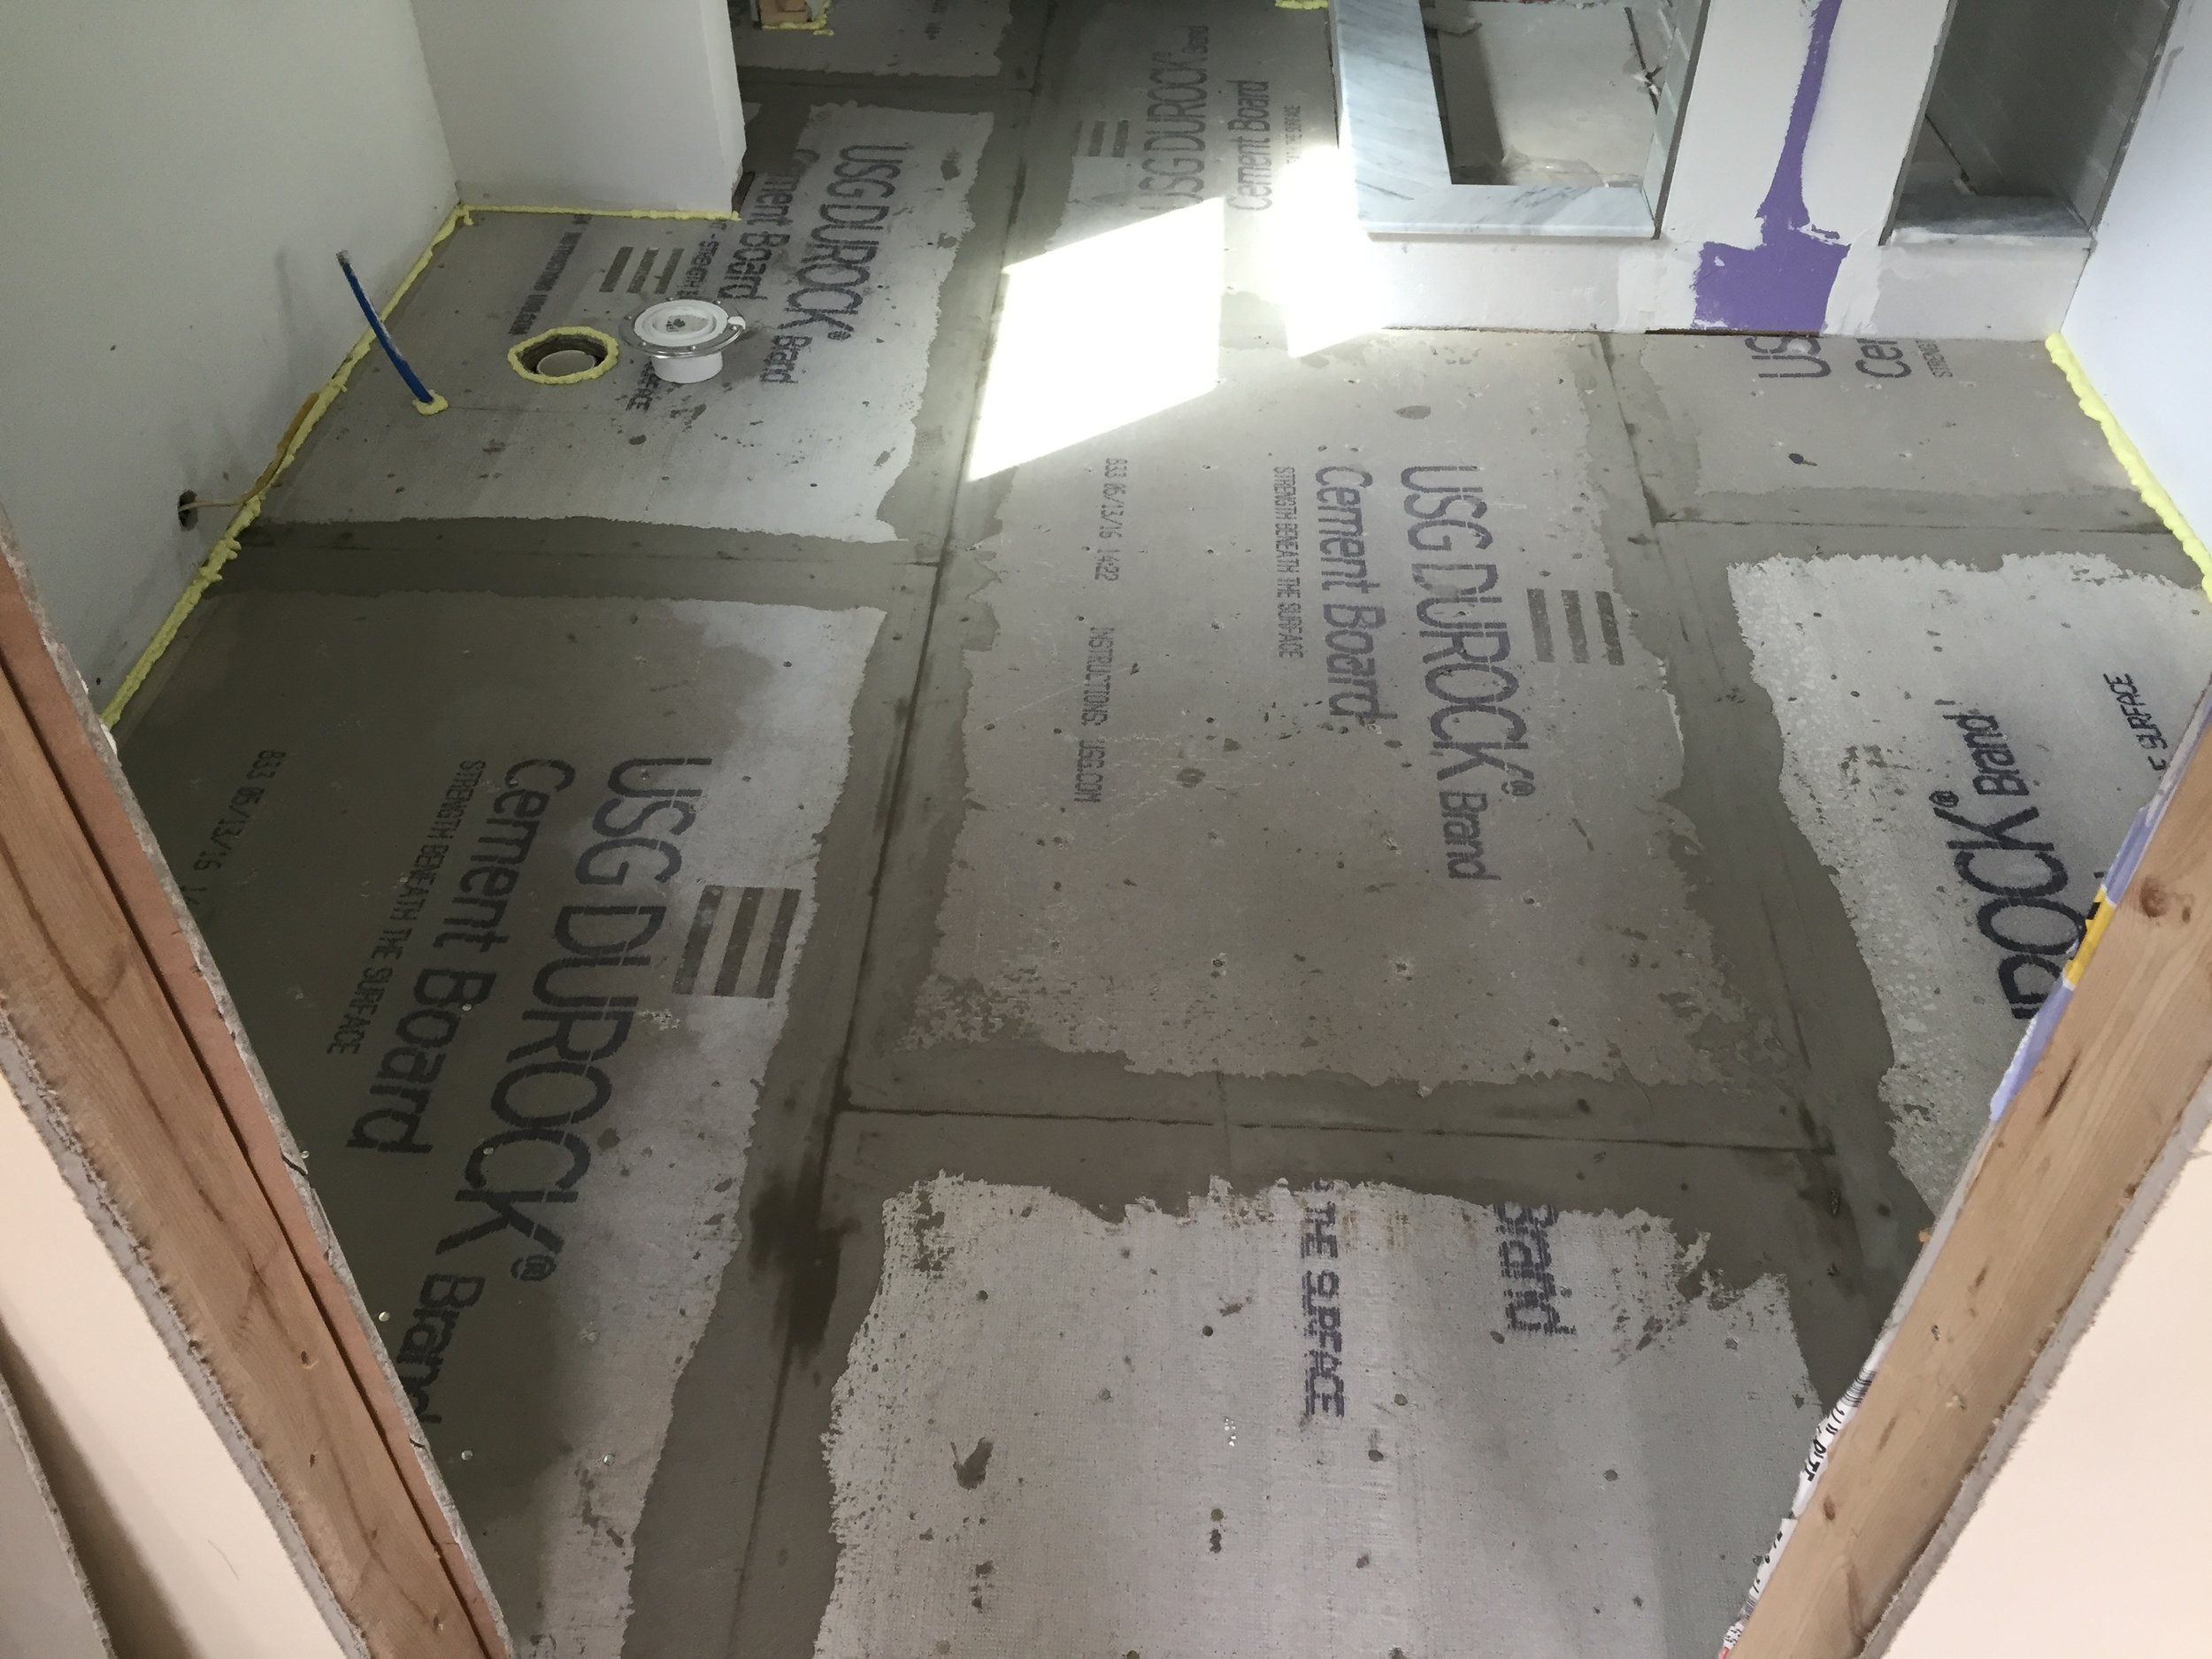
1/4” Durock installed during a bathroom remodel in Scranton PA. Modified thinset used to install the cement board and tape the seams.
Fastening Cement Board- Cement board requires a lot of fasteners. Some underlayments have a grid on the surface to indicate where the fasteners are to be placed, otherwise the installation instructions will specify where fasteners are to be spaced on both the perimeter and field of the cement board. Be sure to use approved nails or screws for the installation. To my knowledge, no manufacturer permits the use of drywall screws and they should not be utilized. Corrosion resistant screws or roofing nails are the appropriate method of fastening cement board.
Spacing Underlayment Panels- Panels are to be spaced with a small gap (usually 1/8”) between each piece. This gap is then to be filled with thinset mortar and taped with fiberglass mesh tape. The process of filling and taping the seams creates a unified, bonded substrate acting as one assembly. Expansion joints around perimeter walls and protrusions must be honored. Be sure to clean mortar out of these areas during the CBU, tile, and grout installation process.
Selecting the correct products and following the installation instructions for the thinset, underlayment, tile, and grout manufacturers is critical for a proper installation. In addition, the Tile Council of North America (TCNA) has additional parameters and industry specifications for tile assembly systems. There truly is a lot to know and a lot of skill that goes into a great tile installation. This skill and knowledge is what separates the work of a handyman and a tile professional. It is also why so many tile installations are done incorrectly.

Tile and grout installed during a Clarks Summit kitchen remodel
As professional tile installers serving the Scranton area, we have the appropriate equipment, experience, and knowledge to install a variety of tile systems. From floor tile to custom tile showers, we can assure top quality service, materials, and installation methods. Contact us for your commercial or residential tile project.